


Quick Links
-
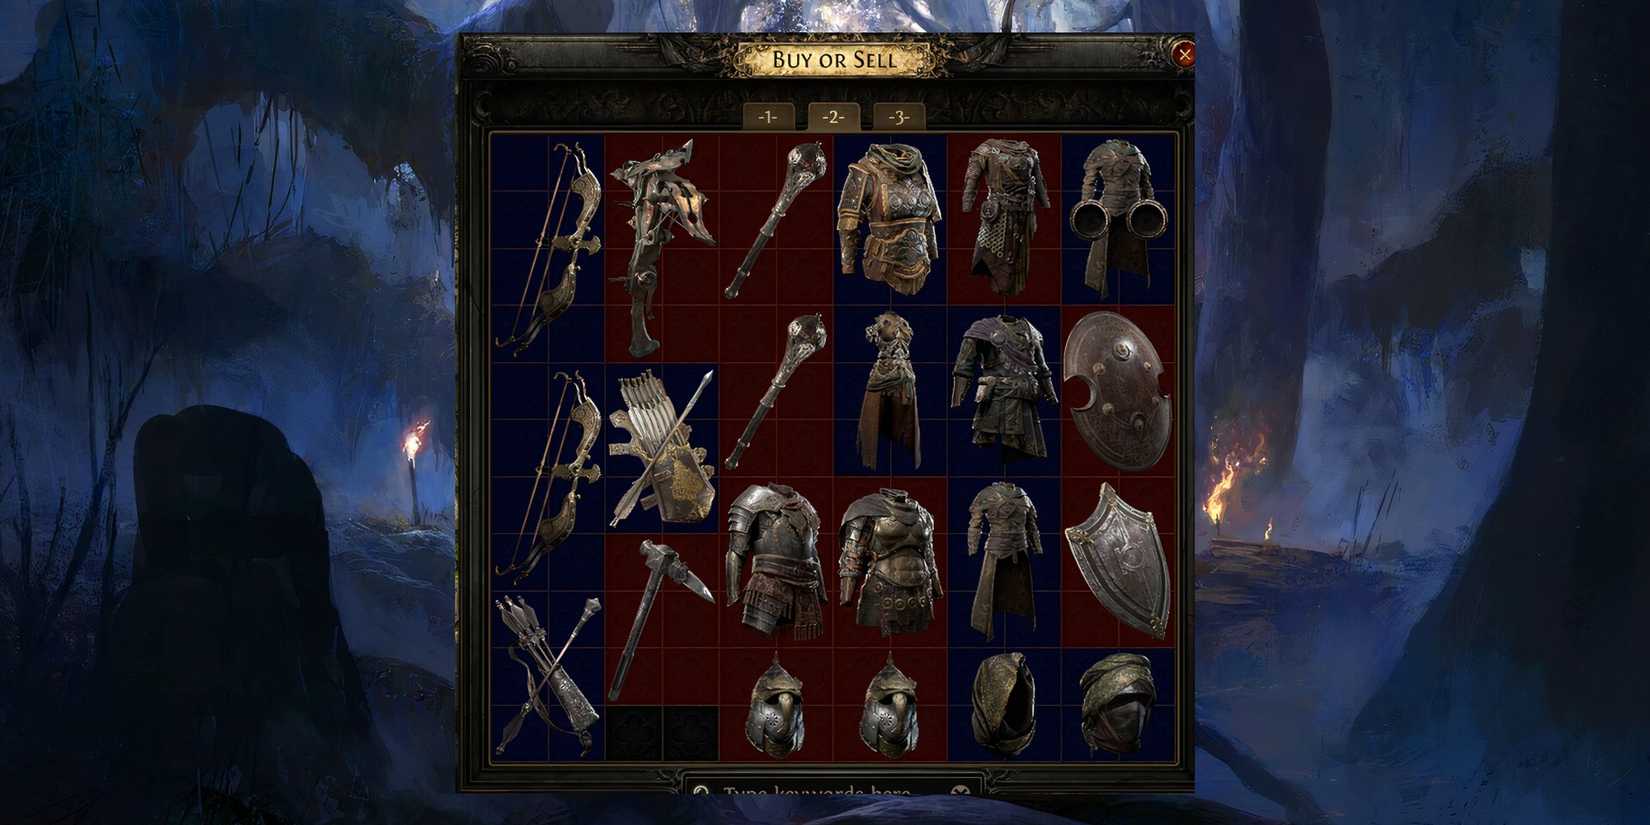
Sample gear for the gear you need for early and slow games
-
Supports important skills and gems
As many of us know, Thunder Totem Titan Build It is a great power of The Road of Asylum 2Combine catastrophic area damage with totem-based strategies for both safety and efficacy. This build allows you to deploy totems that crush enemies while maintaining your mobile.
Perfect for crowd control and better for later content in the gameperfect for both new and experienced players.
This guide covers every aspect of building mastering, from skill set-up and gear recommendations to general optimizations and general mistakes to avoid.
If you have problems early on, you can use the effect Early game builds For warriors when you work towards a Thunder Totem build.
Create an overview

At the heart of this build Ancestor Warrior Totem + Thunderprovides a setup where the totem hits the ground with a massive AOE and locks the enemy in. You are not going to face a tank Your damage is done by a proxy, where the build is shining.
Why does it work: Thunder creates shock waves that scale very well with attack speed, AOE, and physical damage. Combining this with the passive power of a totem means that you can expand deeply into the endgame without putting yourself at risk.
This build isn’t just for skill setup. Gear synergy It really makes it work.
Sample gear for the gear you need for early and slow games
Weapons: Old-affected staff at Karui Mall or Ezomite
search: +% increase in physical damage, Get physics as extra fire/cold, Attacks can cause harm. The reason for this is that since the totem uses weapon statistics for damage, stacking flat physics and %Phys on a 2H weapon makes a huge difference. Elder influence can roll a high value mod like “Get x% of physical damage as an additional elemental”it’s huge for scaling.
Helmet: AoEGems with +2, rare
This directly increases the damage to the Thunder. If you can find it in “The Thunder creates additional shock waves.” It’s fascinating, even better. That enchantment stacks with AOE scaling and quickly becomes clear.
Body Armor: A caom heart or unusual with a % of physics considered elemental
My favorite body armor is the heart of Kaom, which happens to be a bis for raw survivability. Tons of flat life. A drawback? Sockets are not provided, so you need to be smart about skill placement. If you’re soaking in a socket, look for a rare breast “Physical injury % adopted as an elemental.” This significantly reduces the impact of incoming physical hits. This is one of the few threats that could pass the totem.
Gloves: Spiked gloves with added Phys + Attack speed
search: +x To physical damage to attacks, Increased attack speed by %Life + Resists. Totems reduces the attack value, so these modifiers are passed. Attack speed also helps with totem casting times.
Boots: Movement speed + Life + Unusual with chaos
A moving speed of 30-35% is ideal. Chaotic resistance is underestimated early on, especially in the acts that allow random chaotic projectiles to finish the run. As a bonus, if you can get it “Not affected by the combustion area” or “Avoid elemental illnesses”it makes the bosses (and there are some very hard bosses in the game) smoother.
Amulet: +1 turquoise-like amulet provides melee skills, totem damage, and strength
Melee skill Buff Thunder, totem damage directly increases DPS. Strength increases life and damage at the same time. If you can afford it, Hunter-influenced amulet You can roll things like “Totem placement speed has increased.” “Skills take lifespan instead of mana.” Both are real game-changers in quality of life.
Ring: Unusual with Mana Leech or Regen + Additional Phys
search: “X% of the physical damage risked life as mana.” or “From +x to mana Regen” If you’re struggling with sustain. Physics has cleaned these to attack, strength, and flat life/resistance mods.
Why these items are important
Each of these pieces meets your needs:
- Totem Up Time (via attack speed, cast speed, and placement speed).
- Thunder Scaling (via AOE GEM levels and added Phys).
- Mana will be maintained (via gear-based Regen or Leech).
- defense (Through armor, life, transformation).
You don’t need a perfect roll, but try covering the base. This is a build that avoids momentum. If your mana is clunky in running times for your sustain or totem, it feels like the whole thing is falling apart. But once it’s smooth, it’s one of the cleanest playstyles I’ve tested with POE2.
Supports important skills and gems

Totem Setup (for clearing MOB):
Thunder Your main damage dealing skills Martial arts tempo Increase your attack speed, Turbulent, This adds additional cracks to improve area coverage. Inspiration Helps you manage your mana costs efficiently Enlargement effect Increases the area of effect.
Totem Setup (for boss):
Just like setting up a totem to clear a mob, Thunder Often your main attack skill Martial arts tempo Speed up attacks and use them Overpower, This increases and leads to damage against tougher enemies Brutal, Amplifies physical damage. Be sure to use it Crows Battle To increase damage to nearby enemies during boss battles.
Passive skill tree

Focus on the nodes This improves proximity damage, totem effectiveness, and survivability. The main passives for prioritizing include Giant’s Blood. This allows you to draw two-handed maces in dual format, and in turn, your melee skills can be greatly improved.
Polymathy Clusters help you meet the attribute requirements of your gear. Resolute Technique ensures that your attacks are not overlooked and are more reliable.
Progress tips:
Start by grabbing life and melee damage nodes for survival and power, working towards key keystones like giant blood. It is highly recommended to use a passive tree to balance offensive strengths and defensive strength.
Gear recommendations

weapons
Dual Whild Mace on both hands and +7 We aim to be items that align skills and facilitate attribute requirements. Weapons influenced by the elders “Physically acquired as an extra.” or Attack speed The rolls push the totem even further down damage and smooth uptime.
armor
You’ll want to stack it up Life, resistance, armor Your totem is doing heavy lifting, so you focus on survival across all parts. If the build can handle attribute spreading, Energy Shield Hybrid Chest Use a conversion mod like “% of physics considered elemental” It can give extra cushioning against big hits. Heck, everyone gets damaged from time to time.
accessories
Prioritize +3 amulets and Rings to reee skillsflat physical damage to attack, and good life/resistance rolls to round things up. Strength stacking here is also a solid bonus. It simultaneously increases damage and survivability of your totem, making these pieces double.
flask
Flask setup must include at least one A reliable life flask with bleed or curse removalalong with a Quick Silver for Mobility And stuff like granite and ja for extra defensive layers. For damage, Lion’s roar It’s a big physical boost, and knockback is surprisingly useful for controlling tight fights and keeping nasty hordes away from your back.
PlayStyle Tips

I’ve always learned to pay attention to the placement of the totem, Place them to maximize coverage and potential damage while keeping yourself safe. This also gives you the freedom to switch weapons as needed for attack and defense.
Mana management is very important here, so use inspiration to consider passives or gear that can help you reduce your mana costs (or convert them into life).
Endgame optimization

In my experience, when you hit the Red Map and Endgame Map offers great rewards, it’s fine-tuning all the upgrades. High-rise physical scaling weaponsstacking AoE through totem life and gemsand re-roll your flask to maintain.
At the same time, tweak the passive tree to lean towards content that will shatter, whether it’s a mapping, boss, or league mechanic.
Stick to open layouts like sand dunes and tropical islands and make them smooth clear. Avoid rough mods like “Don’t manage it” And when you press Ubers or Blightshifts the gem link and gear to both Ruptures a single target or Tanker totem setup. It is the only way to keep pressure applied without steaming.
Common mistakes to avoid

It’s easy to overlook the attribute requirements. Therefore, always check your strength and intelligence needs of your gear and skills. It’s easy to get tunnel vision when chasing damage, but missing key attribute thresholds can break down the entire setup.
Insufficient totem placement Or, poor positioning can damage damage and put you in danger. Keeping the totem away from the enemy will reduce the effect. If you bring them too close, you risk drawing unnecessary aggro.
Underestimating mana costs can also be a major loss. Without proper management, mana costs can be high, which can hinder effectiveness. Plan your maintenance through gear, flasks and support, as running away in the middle of mana can leave you helpless.
Conclusion

Thunder Totem Titan The build is a great blend of strength, safety and strategy. Control the battlefield without taking unnecessary risksand once you get totem placement and gear scaling hangs, it will carry you deep into the endgame.
With proper setup and smart adjustments, this build can do anything. For me, the build mantra is this: Master the rhythm, manage your mana, and let the totem smash.


